Our Off Grid Water System
We purchased our property with just a well casing and an old abandoned logging access road. One of our first priorities was to get water flowing. We started researching on the web and happened upon an amazing company RPS Solar Pumps. They have been incredibly helpful, have amazing kits ready to go, have great tech support and honestly we couldn't be happier with them or recommend them enough. We did all of the work except some dirt work completely on our own. I do have some background working with plumbing and electrical so that made it easier for me. You may have to seek help but if you are handy and can follow directions I am sure you can get things set up yourself.
Check out below for more details of what we did for our set up.
Step 1- Solar Well Pump with holding tank
We started with running our solar well pump and it was actually pretty straightforward. Our well pump is the RPS 400 Solar Pump Kit. The directions, tips and actual equipment was high quality, easy to understand and made installation very convenient. Basically the pump is connected to Poly pipe with the wires and sensors taped to the pipe every few feet with a poly rope and it runs up to a pitless adapter that runs through the side of the well casing a few feet below ground level to prevent freezing. This water is pumped into our 500 gallon buried water holding tank.
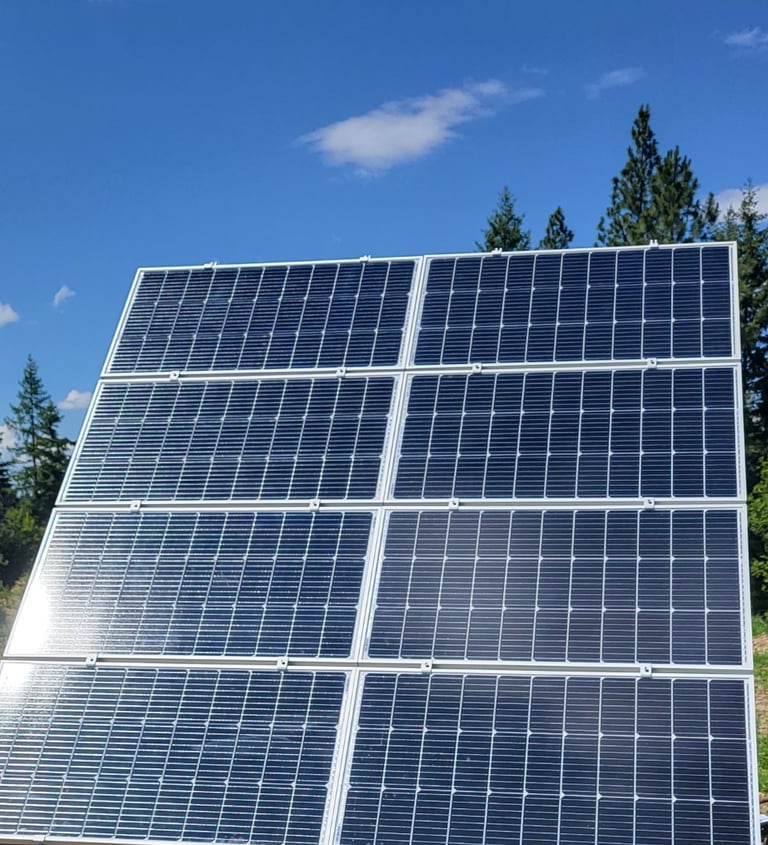
The solar well pump comes with a sensor that is ran into our tank to tell the pump to shut off once the tank is full. It is highly recommended to purchase a tank designed to be buried as a non bury able one will likely cave in! This part of the system was probably the hardest portion as tanks aren't cheap or easy to get to your property with the size of them, difficulty transporting, options available (almost too many to choose from!). We buried the tank below grade far enough to prevent problems with freezing issues. It gets pretty darn cold here in north Idaho! The solar panels can be mounted in a variety of ways, this is another slightly tricky part because of the variety of kits, styles and methods available.
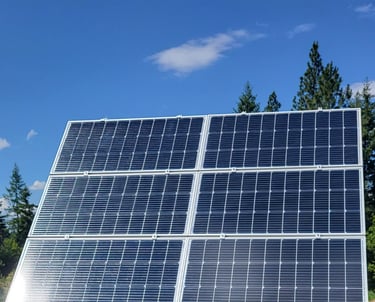
You will have to figure out how you want to mount your panels but they are straight forward and easy to set up. Wiring is plug and play and if you follow the clear instructions you should be just fine setting them up. The solar controller box is easy to set up as well. Batteries if you want them are also easy to set up. I recommend reaching out the RPS for questions if you want to order anything from them.
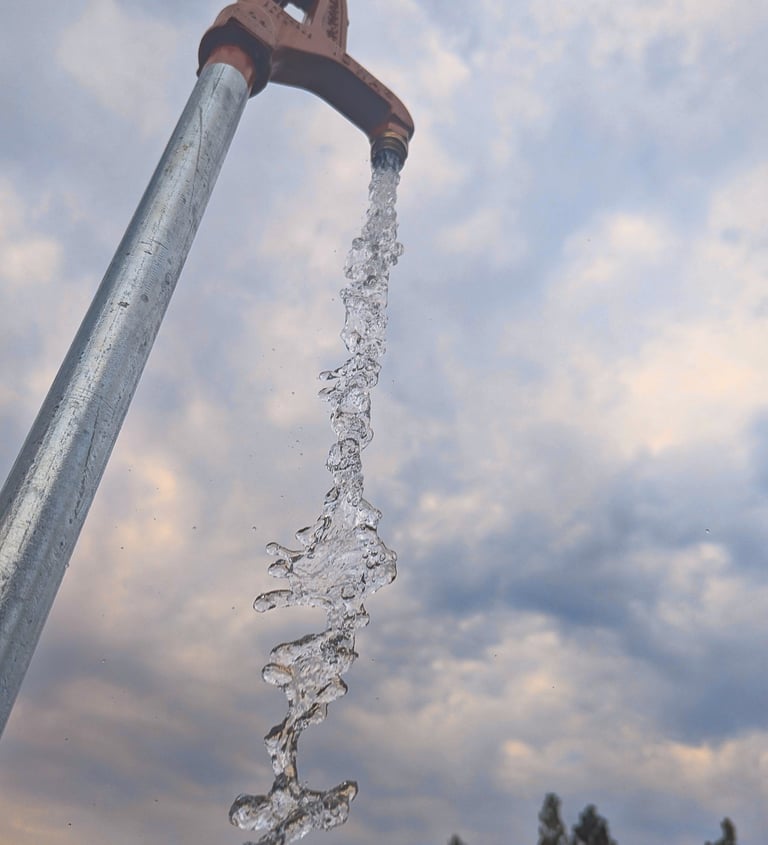
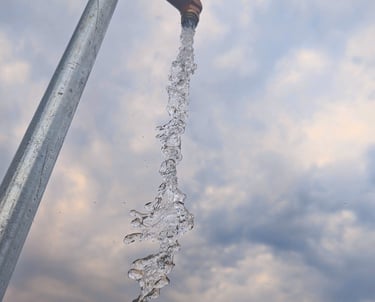
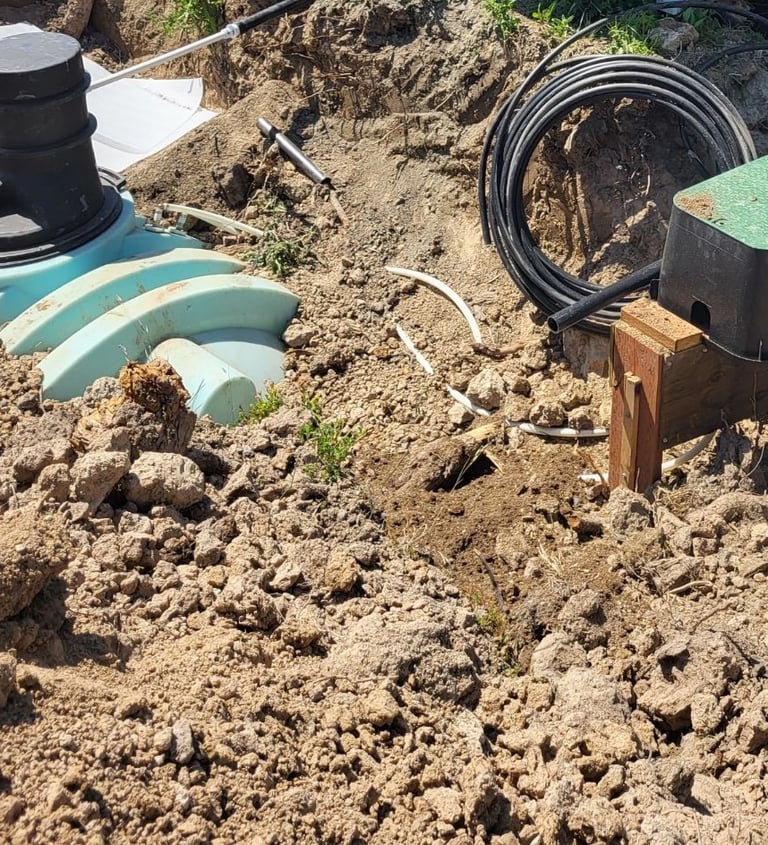
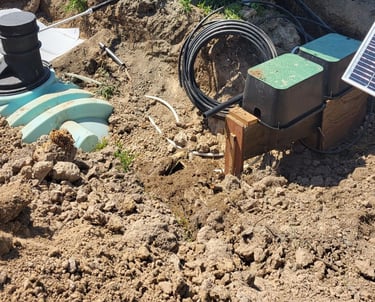
We set up our water tank with our tankless pressure pump below ground level in green utility vaults like the ones linked to once again prevent freezing. Consider ground water build up by using a drainage gravel, hose or sump pump. We ended up choosing the TPP-HP8 Pump Kit. Basically it is a really great set up because it has a pressure sensor in the pump and after priming the system it pumps up to the desired pressure and when you turn on a water valve you instantly have water.
We installed a foot valve at the end of the tank incoming water line to keep the line primed as recommended in the installation instructions. The panels are mounted on a solar mounting array kit sold by RPS. Once again you encounter a little bit of a curve ball as you will have to acquire some heavy duty pipe to mount it on. We have found a lot of little things like this are just a tad tricky to find at first. If you don't like problem solving, taking on a challenge or like everything to be figured out for you then you are definitely going to need to pay people to help you get this all set up, that is for sure!
Step 2- Tankless Pressure Pump
Connect
Explore
Learn
authenticoffgrid@gmail.com
© 2025. All rights reserved.